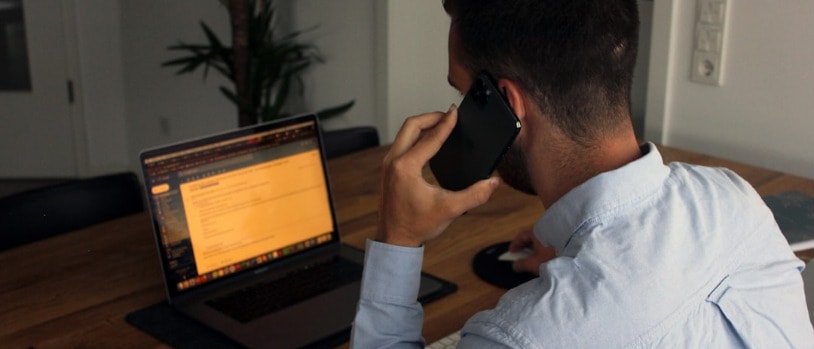
Recording phone conversations can be of great significance for various reasons. Whether it’s documenting important discussions, keeping records for customer service, or ensuring that you don’t miss any vital information, the ability to record calls on an Android device is a powerful tool at your disposal. The process can differ slightly depending on the specific phone and version of the operating system, but the underlying principles remain the same. we will guide you through the process and shed light on the best practices for successful call recording on Android phones.
Understanding the Legal Footnotes of Call Recording
Laws differ from region to region; in some places, you need the consent of only one party (which could be you), while others necessitate informing the other party and obtaining their consent. Always ensure compliance with legal standards in your area before proceeding to record calls.
Setting the Stage: Preparing Your Android Device
- Accessing Call Settings
- Go into your Phone app.
- Locate the three dots icon or gear icon for settings.
- Look for a ‘Call Recording’ option to enable recording features.
- Agreement to Terms
- You might be prompted to agree to terms and conditions that clarify the responsibilities associated with recording calls.
Getting the Most Out of Built-in Features
Some Android devices come with pre-installed capabilities that allow users to record calls without the need for third-party applications. Here’s how to utilize these in-built functions:
- During a Call
- Initiate or accept a call.
- Look for a ‘Record’ option on the call screen.
- Begin recording by tapping on ‘Record’ and halt it by selecting ‘Stop recording’.
- Automated Call Recording
- Some devices enable automatic recording for every call.
- Set this up via the Call Settings and choose criteria such as ‘All calls’ or ‘Calls with unsaved numbers’.
Leveraging Google Voice for Call Recording
For many Android users, Google Voice offers a convenient means to record calls. To set this up:
- Enabling Recording in Google Voice Settings
- Open the Google Voice app.
- Navigate to the settings through the Menu.
- Under ‘Calls’, switch on ‘Incoming call recording’.
- Utilizing Google Voice Call Recording
- Answer your call as usual.
- Press ‘4’ to begin recording after the call has started.
- To cease recording, simply press ‘4’ again.
Using Third-Party Applications for Enhanced Flexibility
When the pre-installed solutions are not available or sufficient, several trusted third-party apps can fill the gap. These applications, like Cube ACR, offer intricate control over recording preferences and formats.
Fine-Tuning Your Recording Quality
To obtain the best recording quality:
- Optimal Environment
- Ensure a quiet setting to avoid background noise from diminishing clarity.
- Speakerphone Settings
- Utilize the speakerphone if recording through another device. Be mindful of echo and distortion.
Maximizing Utility: Saving and Accessing Your Recordings
After recording your call:
- Storage
- The recordings are usually saved within the app used for recording.
- Check the respective application for specific storage directories.
Smart Management: Organizing and Protecting Your Recordings
- Regular Backups
- Periodically back up recordings to cloud services or external storage to mitigate loss due to device failure.
- Privacy Measures
- Enforce encryption and password protection for sensitive recordings.
Evolving Your Approach While Keeping Up with Technology
Tracking advancements in software updates and apps is beneficial as developers continually refine recording features. Keep your device’s system up to date and stay informed about the best recording practices to make the most out of these essential functions.
By following the methods detailed above, you are equipped to successfully record calls on your Android device. Whether you are documenting for legal reasons, or simply capturing memories, the power of call recording when done responsibly and ethically cannot be overstated.
